Last Updated: February 22, 2022
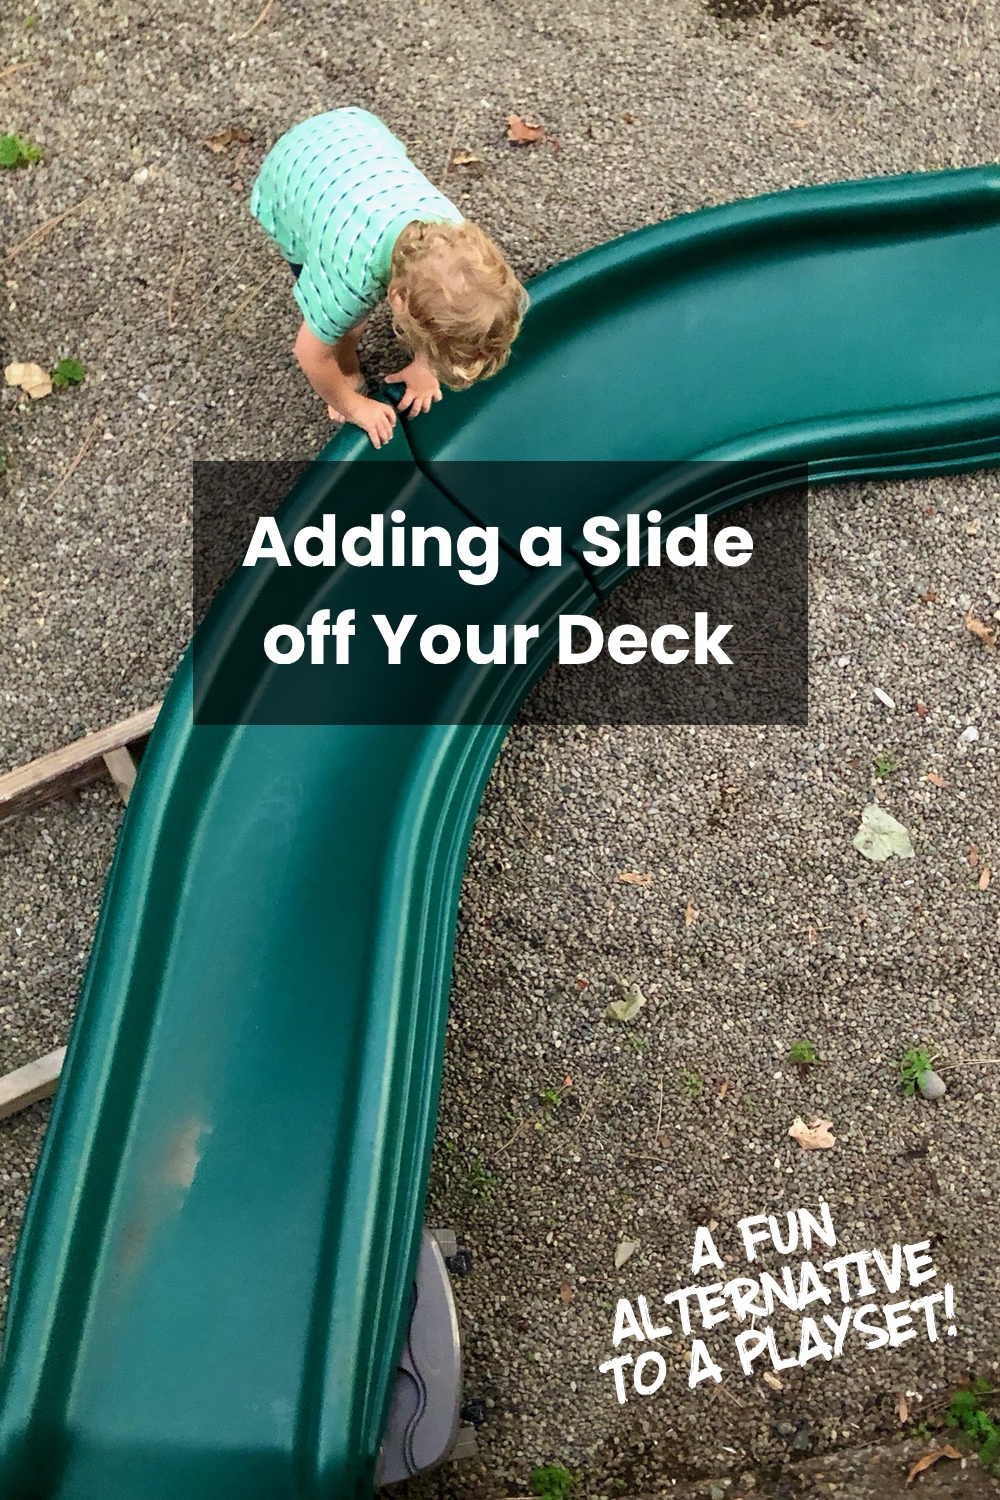
Last year, I finally made good on my promise to add a slide off the deck! When we first moved into our house, I thought it would be funny to add a slide off the porch. Why not add a little extra silliness to our lives? Ultimately, I decided to do a 5 foot deck slide off the back porch. Here’s how to add a slide off a deck and some ideas for what to consider beforehand. Including:
- 5 Things to Consider Before Adding a Slide to Your Deck
- 5 Foot Deck Slides under $300
- How to Add a Slide Off A Deck
With a newly turned three year old in the house (and many playgrounds closed for COVID reasons), I decided to add a slide to the back deck. I had almost placed my order for the slide the previous spring. But I waited a week and boom, they were all sold out. EVERYWHERE. Turns out, I wasn’t the only person dreaming of creating their own backyard slide in 2020. It seems like everyone was building a playhouse, treehouse, fort, playground etc. By the time the affordable slides were back in stock, it was almost fall. So I ended up doing this project as kind of a fall birthday gift for my son. Previously, we just had a small Little Tikes slide that we used as an indoor slide in winter. So this deck slide is quite an upgrade!
5 Things to Consider Before Adding a Playground Slide to Your Deck or Porch:
- Safety and local building codes. Most cities have all kinds of rules about decks and stairs and railings etc. with very specific measurements and ratios. The main concern with a slide is that it’s an interruption of the railing. I waited to add this slide until my kiddo was around three. But you could also just create a lockable gate that maintained a continuous railing if you needed. Our deck is about 5 feet high. And because of the stairs and height I didn’t let my baby and early toddler be on the deck alone. Just like I wouldn’t have with a slide. Now that he’s three, he can take stairs by himself and I don’t worry about him on the slide. We also just have one kid and not a ton of people with access to our yard. If we had a large family or older kids using this slide, we would definitely be a bit more mindful of this and I think I would have chosen a heftier slide.
- Slide positioning and space. Another thing to consider is how much space you have around your deck to put a slide. We really only had one side of the deck that was feasible to add a slide. Otherwise it would have been either too close to the fence, a door, or walkway.
- Slide shape and size – The next thing, of course, is the size and shape of the slide. Many slides are in the 4-5 foot range. And if it will be a straight, curved, bumpy or wavy, tube slide etc. And based on all those options where the slide could start and end. If you have a huge yard this isn’t a concern. If you have a small space, remember your geometry or ask Google about right triangles. A 10 foot slide length attached to a 5 foot deck, actually only extends about 8.5 feet.
- Test out your slide size and placement idea. After measuring out various 5 foot slides, I quickly realized that a curved to the right slide was the best bet for our yard. Otherwise it would be inconvenient to walk out and around the full length of a straight slide. And walking under it wouldn’t be an easy option. I tested this by just placing various yard furniture and things in roughly the footprint that the slide would take up.
- Move any potentially dangerous toys or yard furniture away from the slide “fall zone” area. After decided on our slide and placement, we decided to move our mud kitchen and toy truck area to the other side of the yard. It’s only about 10 feet away now, but now if a child was to slide down and somehow take a tumble off the side of the slide, they wouldn’t hit anything like a wood corner or anything other than just the dirt and gravel area we have underneath.
And now on to the fun part – adding the slide!
5 Foot Deck Slides under $300:
Price was definitely a consideration when I started looking at slides for decks. First, I looked for a used slide and didn’t find any budget options. I didn’t want this to turn into a super spendy project. So I was looking in the $200 range. But here are some other great budget slide options under $300. Remember to check Facebook Marketplace or other resale sites too! And the prices tend to move around a bit, so I’ve noted the general range that I’ve seen the slides listed for, below.
Slides for Decks Comparison
| Slides | Price | Slide Length | Max Weight | Platform Height | Colors |
| Summit Slide | $138 | 7 feet | 250 lbs | 4 feet | Blue, green |
| Cool Wave Slide | $130 | 7.5 feet | 250 lbs | 3.5 – 4 feet | Blue, yellow |
| Apex Wave Slide | $190 | 7.5 feet | 250 lbs | 3.5 – 4 feet | Blue, green, yellow |
| Olympus Wave Slide | $240 | 8.5 feet | 250 lbs | 4.5 – 5 feet | Blue, green, yellow |
| Alpine Wave Slide | $356 | 8.5 feet | 250 lbs | 4.5 – 5 feet | Green, yellow |
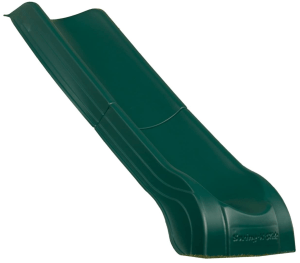
| Swing n Slide Side Winder | $231 | 9.5 feet | 250 lbs | 4-5 feet | Green, yellow |
| Super Speedwave Slide | $345 | 10 feet | 250 lbs | 5 feet | Blue, green, yellow |
| Blue Rabbit Wavy Slide | $310 | 10 feet | 250 lbs | 5 feet | Blue, red |
| Backyard Discovery Slide | $259 | 10 feet | 250 lbs | 4.5 – 5 feet | Blue, green, yellow |
7 Foot Deck Slides


8 Foot Deck Slides


9 to 10 Foot Deck Slides


Slide Accessories

Swing n Slide Safety Handles: $11-13
How to Add a Slide Off A Deck:
Supplies List:
- Swing n Slide Side Winder – $198
- 2x4x8 – already had one
- 3 – 3″ lag bolts for extra secure deck attachment – $1
Tools:
- Circular saw – to cut the 2×4 (if you don’t have one, you could ask Home Depot for exact cuts)
- Jigsaw for cutting part of my deck railing
- drill/impact driver set – assembling 2×4 support piece and attaching slide to deck.


1. First up after measuring and planning is ordering your slide! I ordered this slide. There are a few different options. And then anxiously wait for it’s arrival! In the meantime, you can also assemble the rest of your supplies so you’re not taking a bunch of trips to Home Depot after the slide arrives. So check with your slide instructions, you’ll usually need a 2×4 and screws.
2. Assemble the main slide pieces as instructed. I waited to remove any of my deck railing pieces until I had this done. It’s a lot harder to go back and fix if you make a mistake. So wait until your slide arrives and you assemble the main pieces to get working.

3. Measure out where your slide will attach to your deck and consider what pieces you’ll need to remove or cut. I had to remove 3 vertical rails and cut the lower 2×4 horizontal support of the rail to make a space for the slide. The vertical rails popped out super easy with a few taps of the hammer. And the horizontal support I cut with my jigsaw and then sanded down the edges with my mouse sander.

4. Add back any extra reinforcement to your deck railing. After making space for the slide, I used the horizontal piece that I had removed, cut it in half and reattached it with decking screws to the existing railing and supports. (See pictures). I also saved the 3 vertical rails that I took off, in case we or future home owners wanted to remove the slide. Then all that would be needed is a new lower horizontal support board.

5. Measure and attach your slide to the decking boards with better hardware if needed. Depending on if your boards are running horizontal or vertically toward the slide, you may be drilling into one board or several boards. Either way, make sure those boards are secure and reinforce with decking screws if needed. We redid our deck last year with quality cedar and deck screws, so I wasn’t worried about this. However, our original decking was just attached with nails and that would not have been strong enough for a slide attached. I also ended up buying heftier screws and washers than what came with the slide. It may have held for awhile, but I didn’t want to deal with the screws pulling out later and then having a more difficult problem to fix.
6. Now depending on your slide you’ll have a lot of holes to dig and support pieces to add. This part of the project ended up taking me a few days because of weather and having to recut the support piece. Inconveniently, I realized after I had made the support beams (according to their instructions) that the instructions they sent with the slide were not correct! I got in contact with the slide manufacturer and found the correct instructions on their website. So thanks for the wasted time and lumber, lol!?
7. Hooray and enjoy your slide! Finally the slide was done and we could play. And smooth out the gravel over all the dirt that we’d dug up to install the slide supports. This slide has added such a fun element to the backyard. And it’s been a fun smaller project than building a full treehouse or playhouse or swingset/playground.

I hope you’ve enjoyed this little peek at how to add a slide off a deck for a fun alternative to taking the stairs!
More Outdoor Play DIYs


Originally published January 2021. Updated for 2022


No Comments